

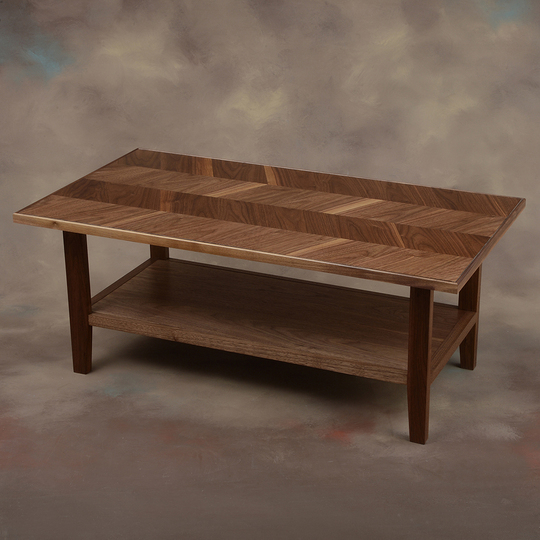
My customers sketched a top for their coffee table. I drew it out full scale for one half of the mirrored design and determined that the miter angle was 62 degrees.

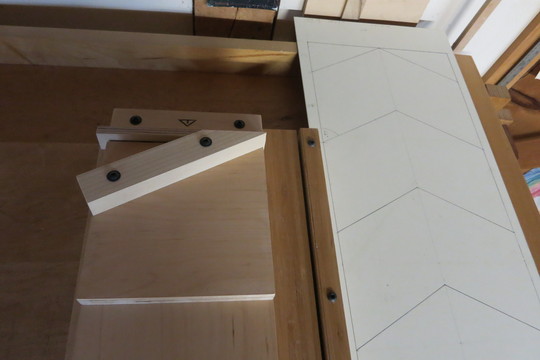
An auxiliary jig platform for the Vogt Shooting Board was indispensable in fitting all the pieces.
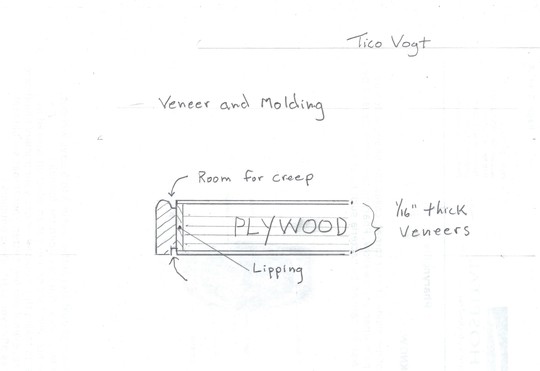
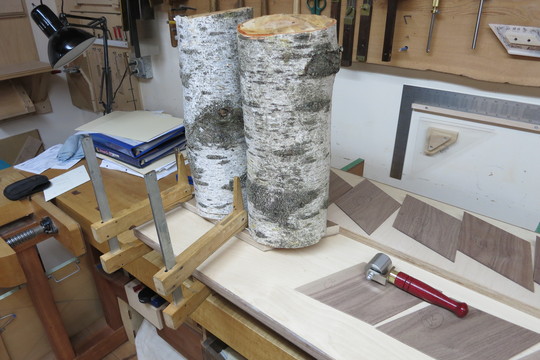
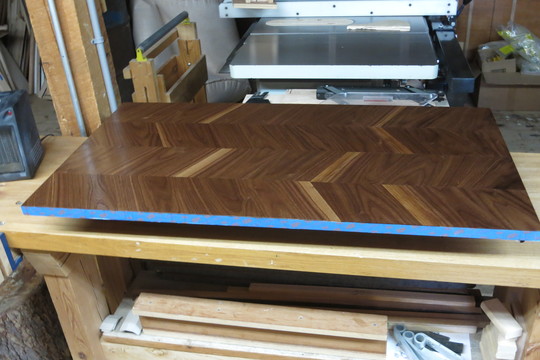
The veneers were bandsawn and planed to 5/32”.
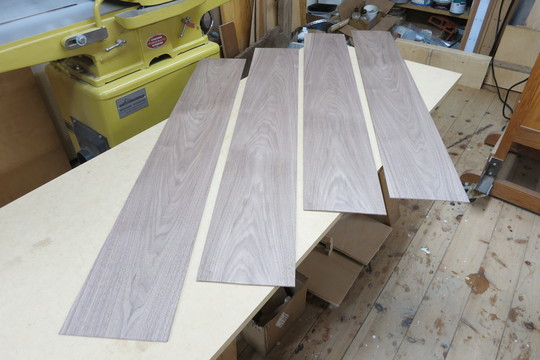
That’s not actually a veneer thickness. The mitered pieces were treated as blocks and glued on two or three at a time. After a couple of days of curing the whole top was thickness sanded with the veneers, top and bottom, ending up at 1/16” thick.
What creates the chatoyance is the sequence of laying the veneers in the rows across the width of the top.
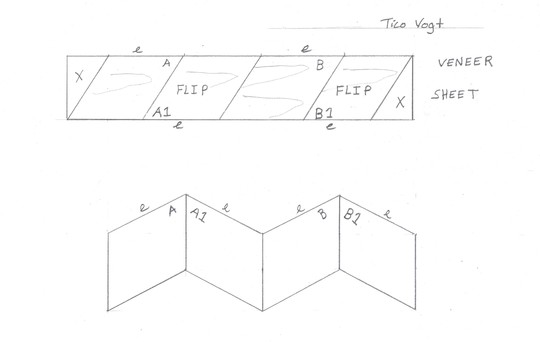
Moving your head a few inches while gazing “into” it creates strikingly different views of the grain- what was rich brown becomes a smoky gray, the columns of darker veneers trade places with the lighter ones, and different three dimensional shapes suggest themselves.


Yellow glue was the adhesive. It’s to be expected that there will be some “creep” and the molding that wraps the perimeter is designed to allow for it.
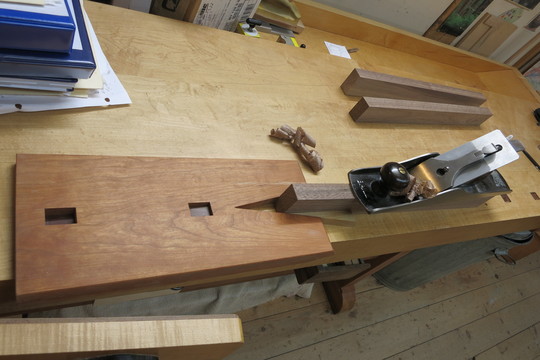
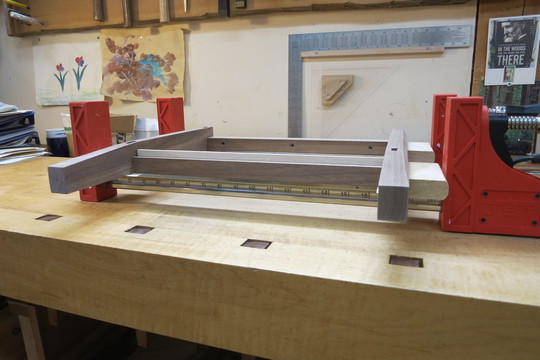
The shelf is made of solid wood, 1” thick, and is treated like a panel within the rails that has plywood splines glued into grooves on the inner edges.

A 3/32” space on each side of the shelf allows for expansion across its width. The ends are pinned from the underside at their centers.
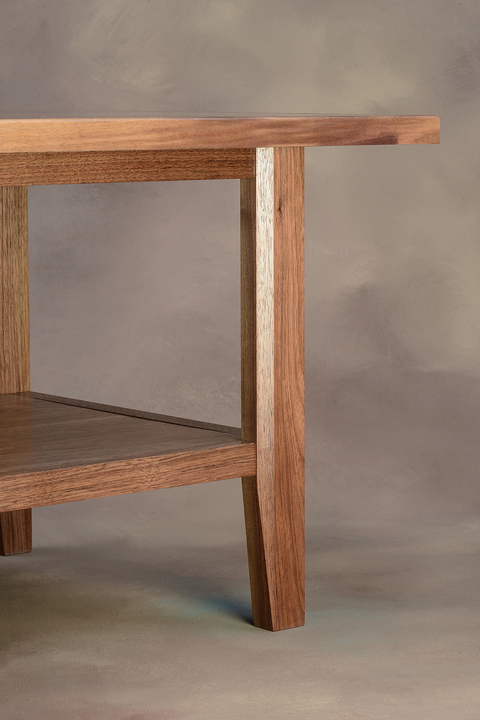
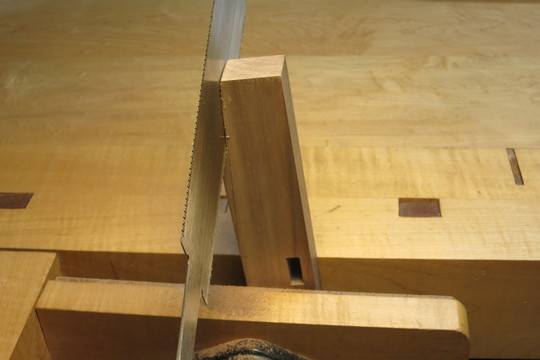
A bevel was planed along the inner edges of the legs as viewed from the sides… at 62 degrees, of course.
What follows is a long series of construction pictures.
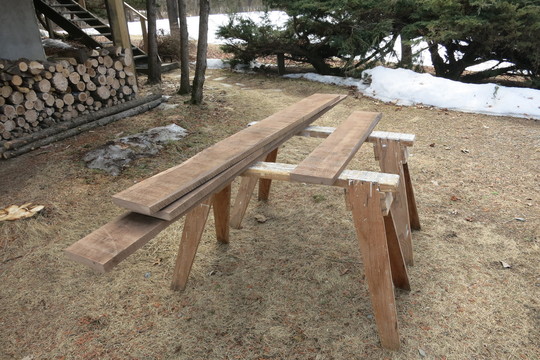
Scrub planing shelf.

Finish planing and using winding sticks.
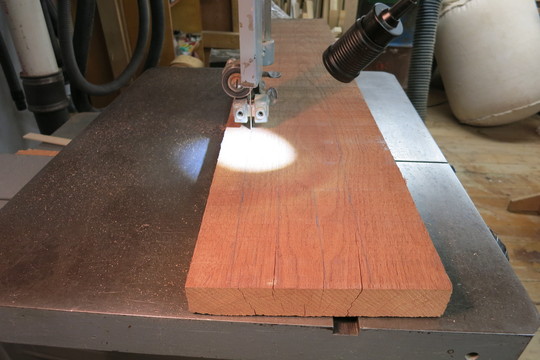
Ripping leg taper.
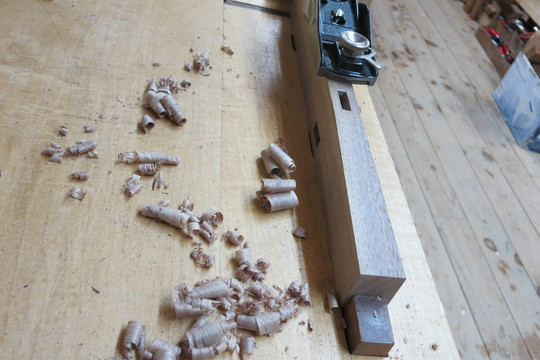
Planing bevel.
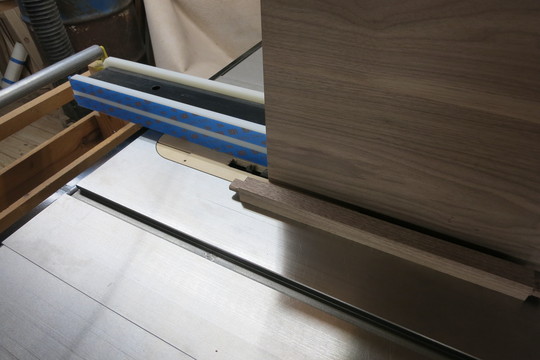
I plowed the shelf panel grooves on the table saw, registering the rails and the shelf against the blue tape strips on the rip fence. The grooves were a tight fit for the plywood splines that glued into the rails. I removed the tape and ran the shelf against the fence. The tape thickness created the tolerance for the shelf to slide and not stick on the splines.
End frame glue up.
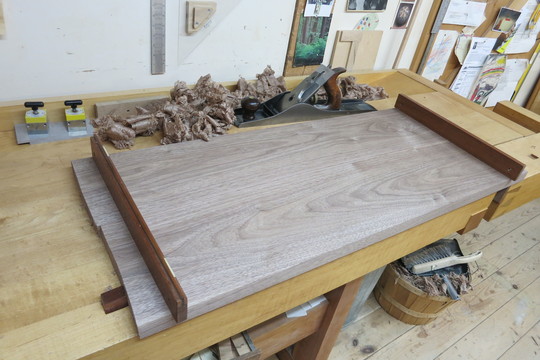
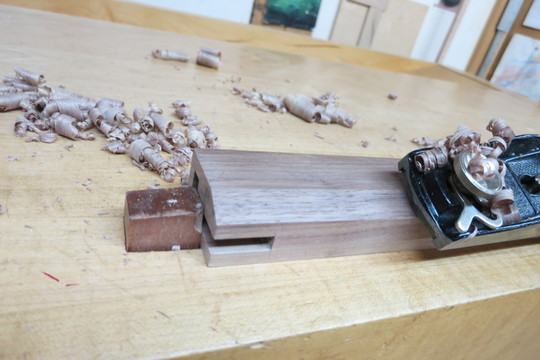
Shooting the veneers was a pleasure.
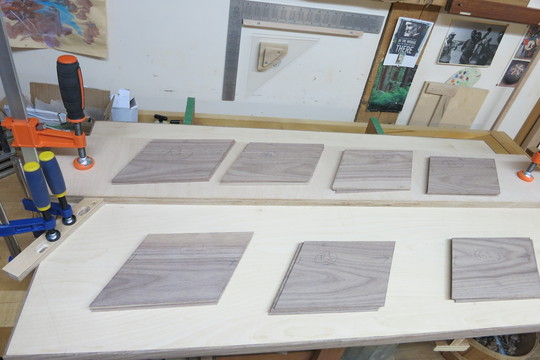
A stack of veneers shot exactly right.

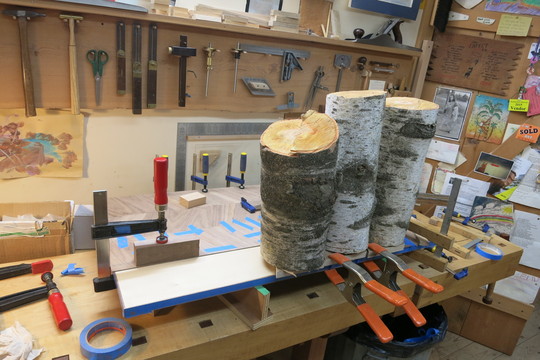
To press the individual veneer blocks down I enlisted the weight of some saps who were hanging around and drying out after a tough winter. Their job was just to stand on sandpaper-faced blocks that were slightly smaller than the veneers.
First column done.
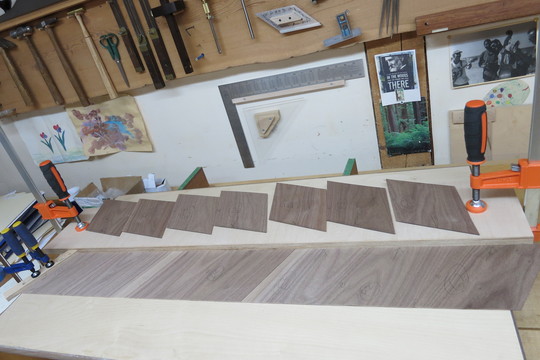
Nearing the end.
The veneers overhung the edges and were scored with an offset cutting gauge prior to trimming with the saw.


Finishing was a long process: shellac, oil/varnish, then coats of Waterlox brushed on full strength. Three weeks of curing before rubbing out.

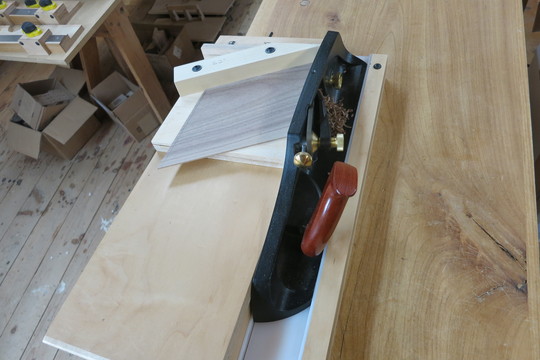
The edge molding was the final task. The Donkey Ear allowed a perfect fit.


Leave a Reply